Create your corporate HTML website
2431 words, 12 minutes
We’ve already seen how to create personnal and semi-pro newsletters . This time, we’re gonna see how to create a corporate website.
As usual, I am going to only use Free Software material. Don’t expect a complex website. I will demonstrated how to create a simple, fixed content, website to present yourself or your SME. A few pages with meaningful content and a simple look.
The software
You will need an HTML editor, a local filesystem space and a remote HTTP server zone.
You can use any editor to write HTML. I personally use vim as much as possible. But it is a bit complex for average users. You could use the Windows’ notepad, the Apple TextEdit or any editor from your *N?X operating system. You may also use the editor from Mozilla SeaMonkey or the BlueGriffon editor. Here I am going to demonstrate the use of Bluefish Editor .
First of all, grab the Bluefish binary and install it for your platform. I am not going to demonstrate the software here. I let you check by yourself and will be editing the HTML code straight from my Web server zone.
You might also keep an eye on the HTML 4.01 Specification from the W3C . This will help you understand the HTML bits that we are going to modify or create.
Next, get a web space from somewhere. You may get one your Internet provider (Free SA provides this option in France) or have to buy one. I am going to use a sub-section of my personal hosting system.
In the end, you must also get an FTP client to upload/download your files between your local computer to the remote HTTP server. You may user FireFTP from the Firefox Web browser extensions. The process is quite simple:
- Create a local directory where you will put your HTML/CSS files ;
- Modify and check the rendering locally ;
- Upload the files to the server ;
- Check the website online
The content and the look
Same thing as for the newsletter: it’s the content that matters!
Think of what you want the readers to know about you (or your company). Think about what you do, what service you provide and how users may search for it.
Here, I’am going to pretend that I am an independent I.T. consultant. The website will present my company and myself, the services that I propose, some clients referrals and a contact form.
Now that I know what to say, I need to find the way to say it in a clean and corporate manner. You can found thousands of HTML theme examples from Google. Just ask for “Free HTML Template”. I personally like to browse the Open Source Web Design. It’s quite old but I find really great stuff there.
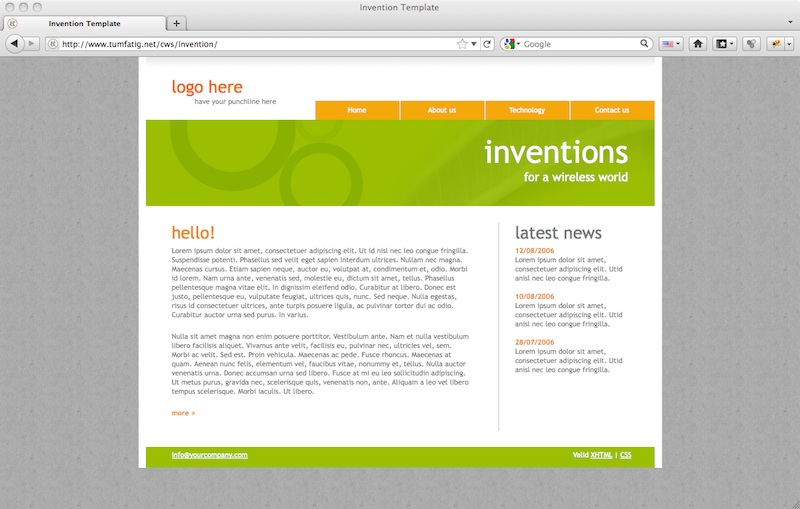
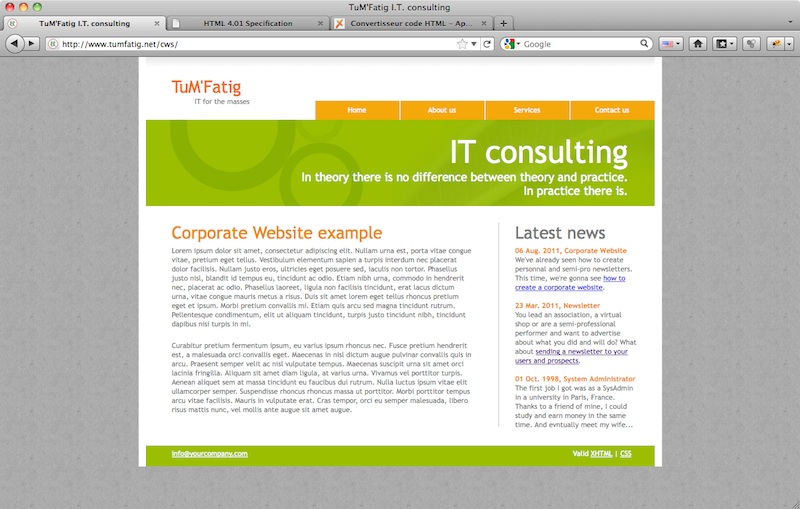
As an example, I’m gonna use the Invention by sdworkz theme. The layout is quite simple, it looks great for corporate content and the CSS is simple enough to be easily modified to match your colour linking.
Here is the default look of the template:
The creation
General website information
First of all, we are going to modify the HTML headers so that it describes the website content.
Open the index.htmlfile in your editor and look for the following text:
<head>
<meta http-equiv="Content-Type" content="text/html; charset=iso-8859-1" />
<title>Invention Template</title>
<link href="css/style.css" rel="stylesheet" type="text/css" />
</head>
Replace it with something like:
<head>
<meta http-equiv="Content-Type" content="text/html; charset=iso-8859-1" />
<meta name="Author" content="Joel Carnat"/>
<meta name="Copyright" content="© 1976-2076 TuM'Fatig."/>
<meta name="Keywords" content="information technology,independent,consultant"/>
<title>TuM'Fatig I.T. consulting</title>
<link href="css/style.css" rel="stylesheet" type="text/css" />
</head>
You can see that I added information about the author, myself, a copyright information for the website data and a set of keywords so that Internet robots can classify my website.
I also setup the website title. The title will appear in the Web browser title bar.
If you are not writing in english, you may add extra parameters to specify your language.
In this example, for a French site, you would modify the html element as follow:
<html xmlns="http://www.w3.org/1999/xhtml" lang="fr">
You should also modify the keywords meta element so that it present keywords in french:
<meta name="Keywords" content="technologies de l information,consultant,independant" lang="fr">
Note that you’d rather not put accented keywords here. Only use it in your HTML body.
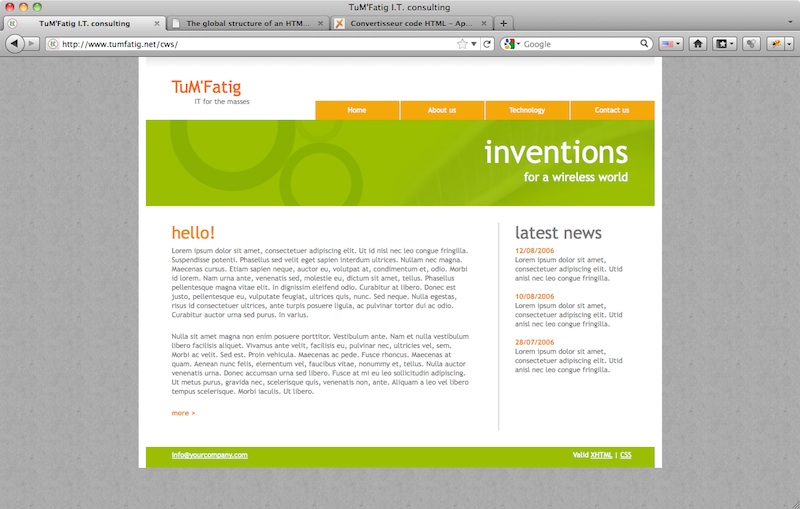
The logo
Look for the <div id="logo"> element.
Modify the level 1 and 4 headings elements. I did:
<h1>TuM'Fatig</h1>
<h4>Information Technology for the masses</h4>
And it looks like this:
The navigation menu
Look for the <div id="links"> element.
The A elements represents your menu. Each element is a link to some other part of your website. In our simple configuration, those links will point to another HTML Web page. You will see later than this method requires duplication that can be painful to maintain.
Modify the href elements to point to the (non-existing yet) other webpages of your site. You may also modify the labels of the links to something more appropriate or translated into your website language. Here’s what I did:
<li><a href="/index.html">Home</a></li>
<li><a href="/about.html">About us</a></li>
<li><a href="/services.html">Services</a></li>
<li><a href="mailto:joel@carnat.net">Contact us</a></li>
Notice that the Home link points to the default HTML file. About us and Services will redirect the browser to some other web pages. Contact us will be used by the Web browser to launch the local Mail client and create a new e-mail.
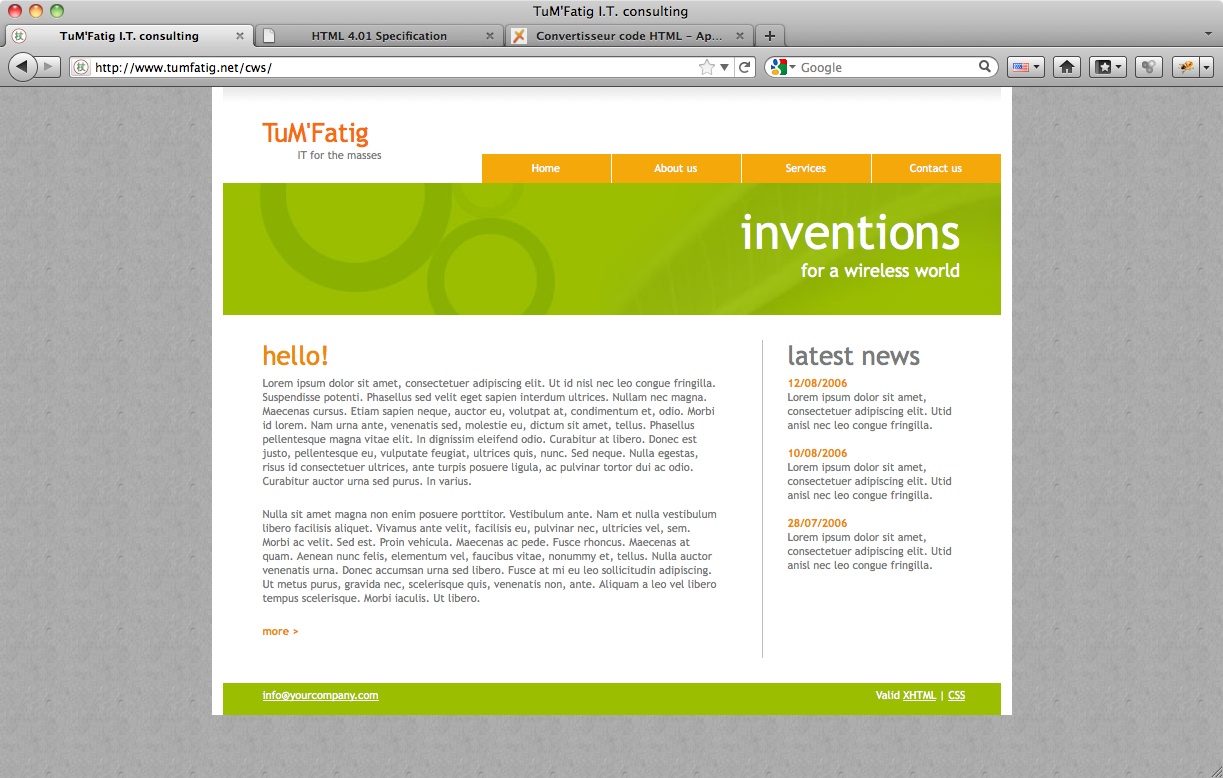
The slogan
The big green image can be used to show various things. On a tour operator website, it would show pictures of the available destination or promote special trips. In my cas, I’m just going to write down a quote that I like when dealing with I.T. services.
Look for the <div id="mainimg"> element and modify the level 3 and 4 headings elements. I did:
<h3>IT consulting</h3>
<h4>In theory there is no difference between theory and practice.<br/>In practice there is.</h4>
And it looks like:
Should you wonder where that quotes comes from, it’s supposed to be from someone named “Yogi Berra” ; not sure about this. But this quote followed me since the day I started managing production systems designed by lamers. Nowadays, I keep that quote in my mind when I do the design for disaster recovery plans and high-availabity services.
The main content
Well named, the main content is what makes the sense of your webpage. This is really a part of literature. There’s the content itself and the way of saying it. It’s a bit of your personality and your business plan. I do like to mix some kind a serious stuff surrounded by lighter quotes. But you must write your text depending on who is going to read it.
Look for the <div id="leftbar"> element. Modify the level 2 headings element and write down your stuff. I won’t copy and paste the code I used here.
I used the Lipsum generator to get a few paragraphes of text that will look like real. You can use it to pre-fill your webpages in your native language and see what it would look like.
The news
This template is quite nice because it provides a “what’s up” section. As a corporate example, you could point out here many things. Client referrals, events driven by your company, writings you’ve done, …
Look for the <div id="rightbar"> element. Modify the level 2 headings element, or not. Then use the span and br elements to distribute the information over the section.
Here’s what it looks like:
I didn’t copy and paste the HTML code here. But you can have a look at it by browsing the online example and use the “show source” option of your Web browser.
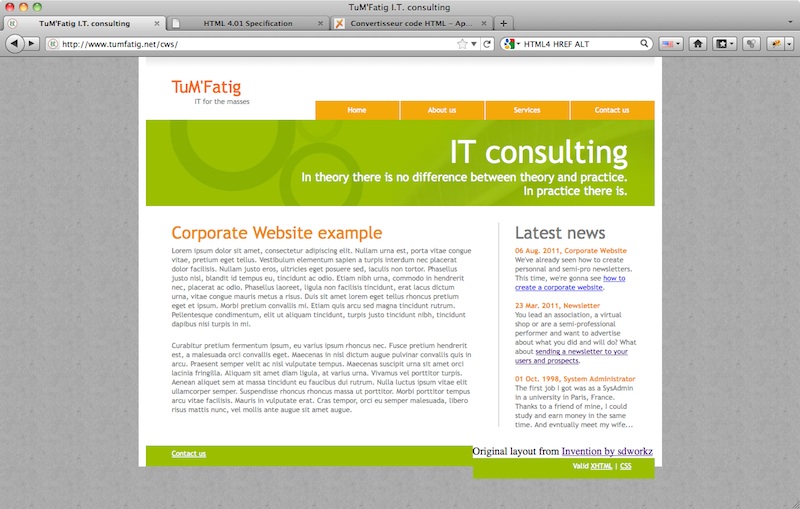
The footer
Finally, look for the <div id="bottom"> element. Modify the mailto directive so that it points to a valid e-mail address where you can be reached.
The XHTML and CSS enables you to check your code correctness. You don’t have to keep them. I personally like to as this insure that I didn’t make big mistakes when modifying my code.
I also added a credits section to indicate that I used the work of someone else. You don’t have to, but I usually do when I use free material. If you do add some code here, you will face the same issue as I did.
This is due to the CSS code. We are going to solve it later. For the moment, just be sure that your modification are formatted using div. As an example, mine goes like this:
<div id="bottom">
      <div id="email"><a href="mailto:joel@carnat.net">Contact us</a></div>
      <div id="credits"><p>Original layout from <a href="http://www.oswd.org/design/information/id/3293">Invention by sdworkz</a></p></div>
      <div id="validtext">
        <p>Valid <a href="http://validator.w3.org/check?uri=referer">XHTML</a> | <a href="http://jigsaw.w3.org/css-validator/check/referer">CSS</a></p>
      </div>
    </div>
Tuning the look
As we’ve just seen, adding stuff to the template may not render properly. Furthermore, one may not like the colors used in the theme. All those stuff can be modified/corrected in the css/style.css. This file can be edited with any text editor. You can use Bluefish, Notepad, TextEdit… I keep using Vim.
If you use the CSS footer link, you know that this theme uses CSS level 2.1. Have a look at the Cascading Style Sheets Level 2 Specification
to ensure your modification don’t break the validation.
Since here, all code modification refers to the css/style.css file.
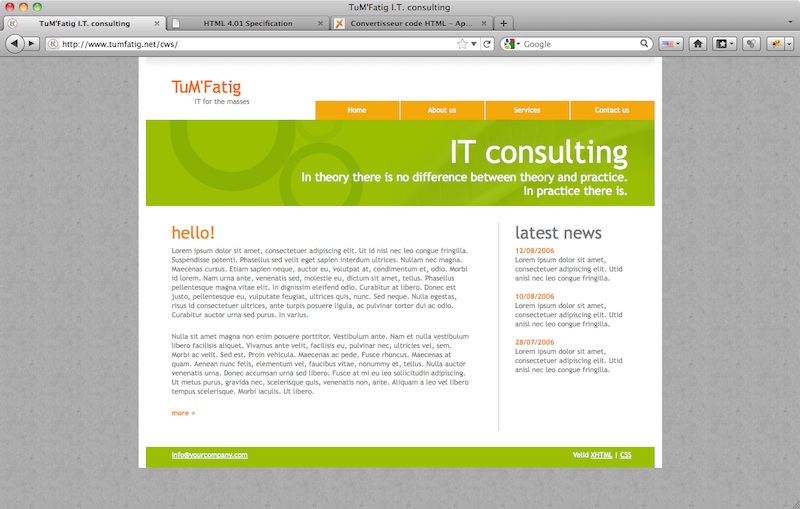
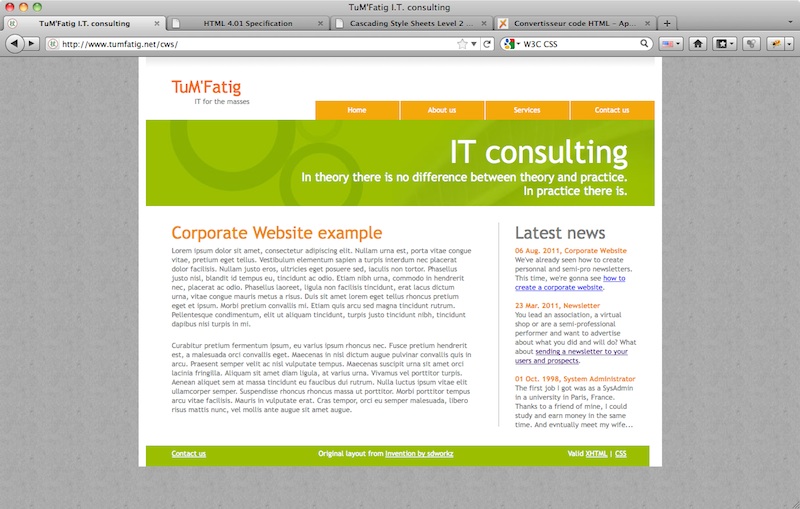
Correct the footer
If you look at the #content element, you’ll see that the theme is built using a 778 pixels width. This is important to remember when we will add horizontal stuff. This means that the sum of each element must not be more than this value.
If you look at the #email element, you’ll see it has a width of 500 pixels. If you look at the #validtext element, you’ll it has a width of 278 pixels. Sum up both and you’ll get your 778 pixels total width.
What we’ll do is set the width of both element to “33%” and add another entry of “33%” width for our new credits zone.
If you did modify your footer like I did, it is currently not rendering properly. To correct it, find the #validtext reference.
Replace
#email {
        float:left;
        width:500px;
with
#email {
        float:left;
        width:33%;
Replace
#validtext {
        float:left;
        width:278px;
with
#validtext {
        float:left;
        width:33%;
Add a dedicated section for “credits”
#credits {
        float:left;
        width:33%;
        background-color:#9BBE00;
        height:27px;
        padding-top:5px;
}
Note that you can copy&paste the #validtext and simply rename it.
If you refresh your browser, you’ll notice that the font aren’t rendering properly neither. The CSS file could have been done a bit better so that we wouldn’t have to modify so much things. But in our case, we’ll have to add code for the credits paragraph and links. You can still copy&paste data from #validtext and modify the bits you need. I did only change the text-align parameter to “center”:
#credits {<br />
        float:left;<br />
        width:33%;<br />
        background-color:#9BBE00;<br />
        height:27px;<br />
        padding-top:5px;<br />
}<br />
<br />
#credits p{<br />
        font-family:"Trebuchet MS";<br />
        font-size:11px;<br />
        color:#fff;<br />
        font-weight:normal;<br />
        text-decoration:none;<br />
        text-align:center;<br />
        padding-right:35px;<br />
}<br />
<br />
#credits a{<br />
        font-family:"Trebuchet MS";<br />
        font-size:11px;<br />
        color:#fff;<br />
        font-weight:normal;<br />
        text-decoration:underline;<br />
}<br />
<br />
#credits a:hover{<br />
        font-family:"Trebuchet MS";<br />
        font-size:11px;<br />
        color:#fff;<br />
        font-weight:normal;<br />
        text-decoration:none;<br />
}
And it finally looks good:
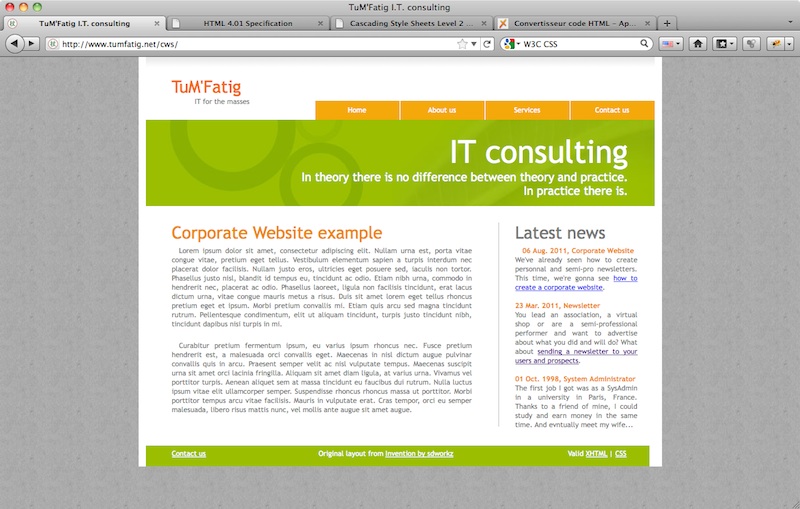
Better look for paragraphs
You may have noticed that text in the paragraph isn’t aligned to the right border. When displaying big text zone, you might better when the text is justify.
To do so, locate the #contentarea element and create a paragraph dedicated formatting section:
#contentarea p{
        text-align:justify;
        text-indent:1em;
}
Note than the text-indent parameter break the “news” section a bit. This is because of the way the news section is coded. I would rather rewrite the news section so that it renders properly. If you don’t wish to or don’t need the indent formatting, just remove it from your CSS.
Check the new paragraph rendering:
Replace the colors
You may not like Orange and Green. Or it may not be your corporate colors. To replace them, just look at color and background-color entries and put your preferred color there. As an example, switching to a Blue and Grey theme for the header, you might go like:
#logo h1{
  color:#3366CC;
}
#logo h4 {
  color:#666666;
}
#links li{
  background-color:#3366CC;
}
#leftbar h2{
  color:#3366CC;
}
#rightbar h2{
  color:#3366CC;
}
#email {
  background-color:#3366CC;
}
#credits {
  background-color:#3366CC;
}
#validtext {
  background-color:#3366CC;
}
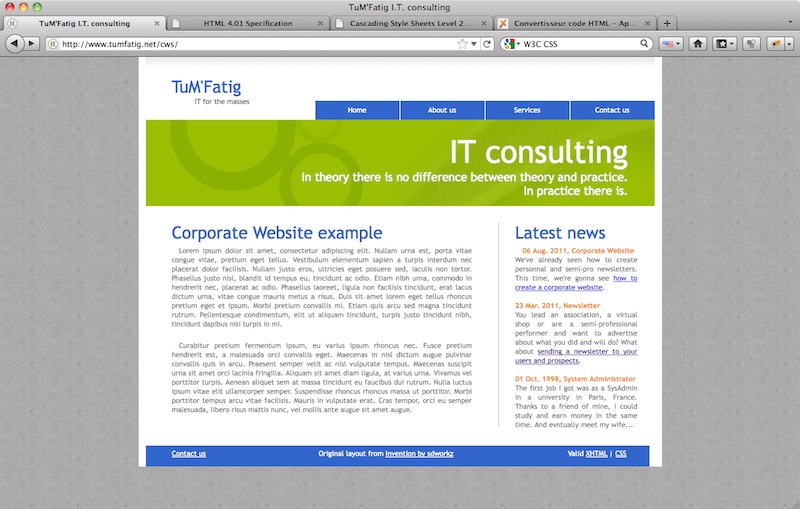
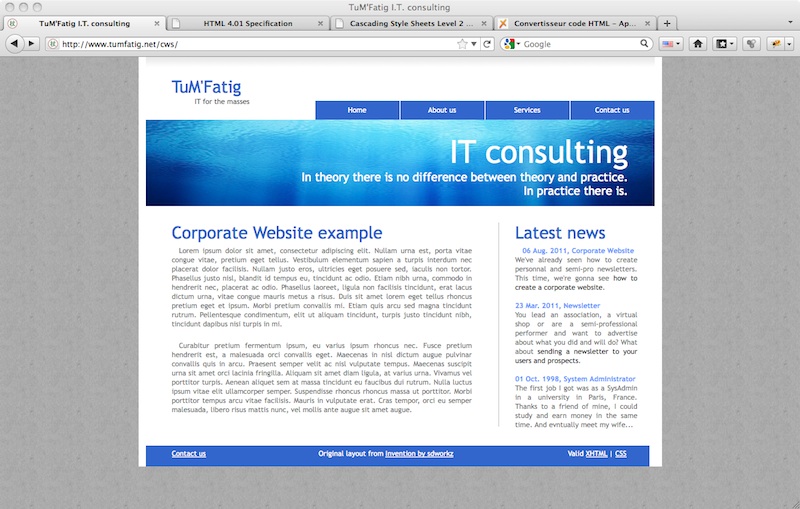
The problem here is that you will change all the colors but the image will still be blue…
Change whatever color you like. Paragraphs, links, …
Change the image
There are two options to match the image and our new color scheme. Either simply remove the image replacing background-image with background-color. Or find a new image.
As we already seen how to replace colors, we’ll use another image here.
First of all, you have to get an image. Either use one from your personal repository or find one from the Internet. Be sure to download non-copyrighted pictures.
To match your theme, you have to get an 778×132 pixels image. What I did is found a bigger image and cropped a bit. And here’s what it looks like now:
Filling-in the sections
Now that we have a front page that looks like what we want, we have to fill-in the rest of the website so that the “About us” and “Services” section renders text. In this simple configuration, there is no other choice than duplicating the front page and replacing the main content with the one accurate for the section.
You have to name the webpage files according to the links you defined in the menu section of this article. So here, copy index.html and name the copies about.html and services.html.
Then edit every pages and replace the text in the <div id="leftbar"> section. As you can see, it’s quite easy to do. But the problem is that if you make any change to the webpage structure or the menu entries, you’ll have to duplicate those modifications to every pages you have. The same thing occurs to the “News” section.
The end
The whole sets of modifications are available online here so that you can see how it works in real life and look at the HTML and CSS code.
As I already said, this way of doing it is rather aimed at website that won’t change much. Should you need to modify it frequently, you’d better go with a dynamic language. We’ll see in other articles how to achieve the same website with “Server Side Includes” and/or “PHP Hypertext Preprocessor” which deal better with dynamic content.
That’s All Folks!
And if you liked the article, don’t forget to share ;-)