Install a 1.8″ SSD in an EeePC 900 via ZIF adapter
1199 words, 6 minutes
I have an EeePC 900 that does nothing for a long time now. My mother asked me for a laptop that she would travel with ; just for reading emails and surfing the Web. That sounds perfect for this machine. I initially planned to install Windows 7 on it so that it’s the same OS than on her workstation PC. The 8GB internal SSD is really to small to run Windows 7 (even running XP is annoying because of Windows Updates) so I decided to install a 1.8" SSD using a ZIF adapter.
Here’s how I did it.
Warnings
First of all, a bit of warnings.
There is no room to install a 1.8" SSD in the EeePC 900 by default. You will have to remove bits of plastic ; which will obviously void the warranty.
Once installed, the SSD is a bit thicker than the EeePC case. You can’t replace the back cover properly. My best installation was to simply not put it back and replace it with a bunch of tape.
The adapter is plugged easily but fixing the SSD will pull on the cable. After several testing (and disappearing SSD from the BIOS), I had to use tape to ensure the cable won’t disconnect from the disk.
Windows 7 will not really work on the EeePC 900. In fact, it installs and runs quite well. But there are no, AFAIK, video nor wifi drivers… Windows XP is the “best” Microsoft OS for that EeePC.
While this is done, I’m beginning to think that buying a $50-$100 32GB Mini-PCI SSD can be worth it. Rather than buying a 1.8" SSD, the adapter and “destroying” the EeePC case. Still interested in the operations? Then read more.
The hardware
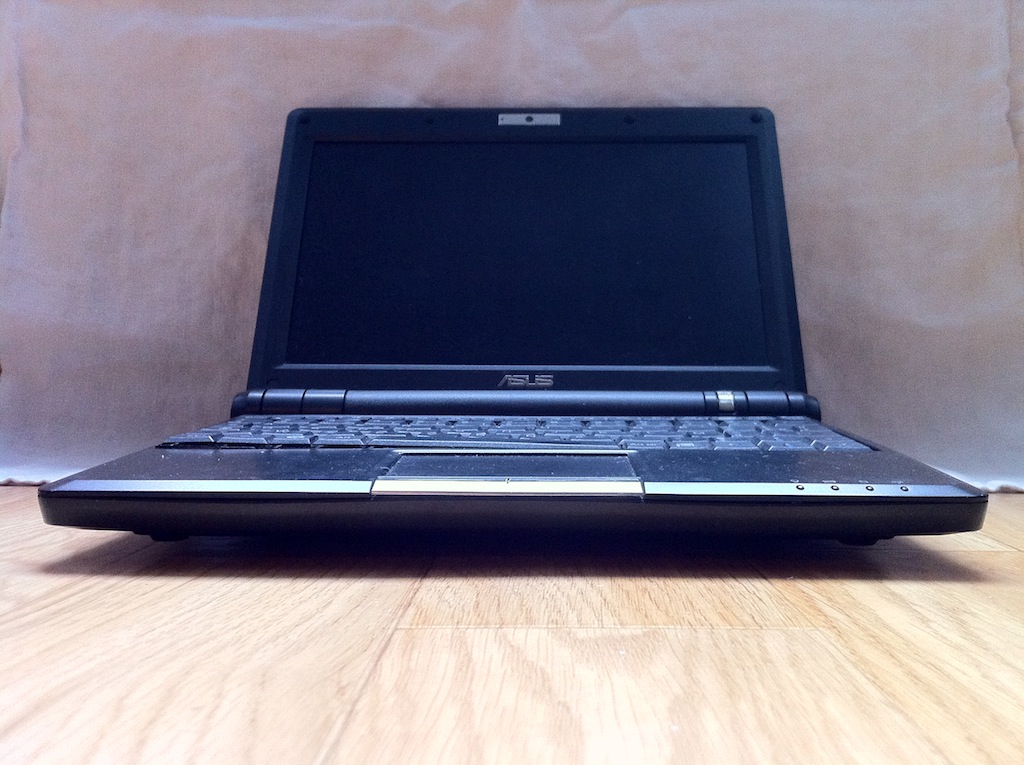
Reader meets the hardware :
- The Asus EeePC 900, shipping an Intel Celeron M @900MHz, 2GB of DDR2 RAM, 4GB + 8GB of Flash storage and using a 8.9" screen to display 1024×600 pixels ;
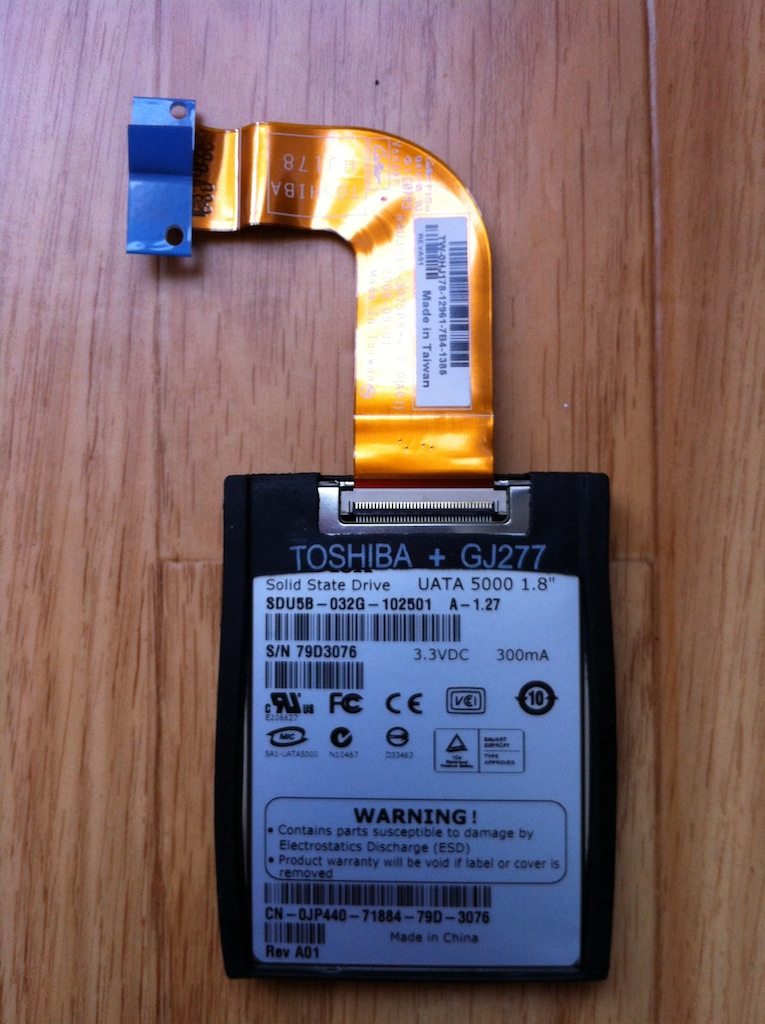
- The SanDisk Solid State Drive UATA 5000 1.8" providing 32GB of disk space ;
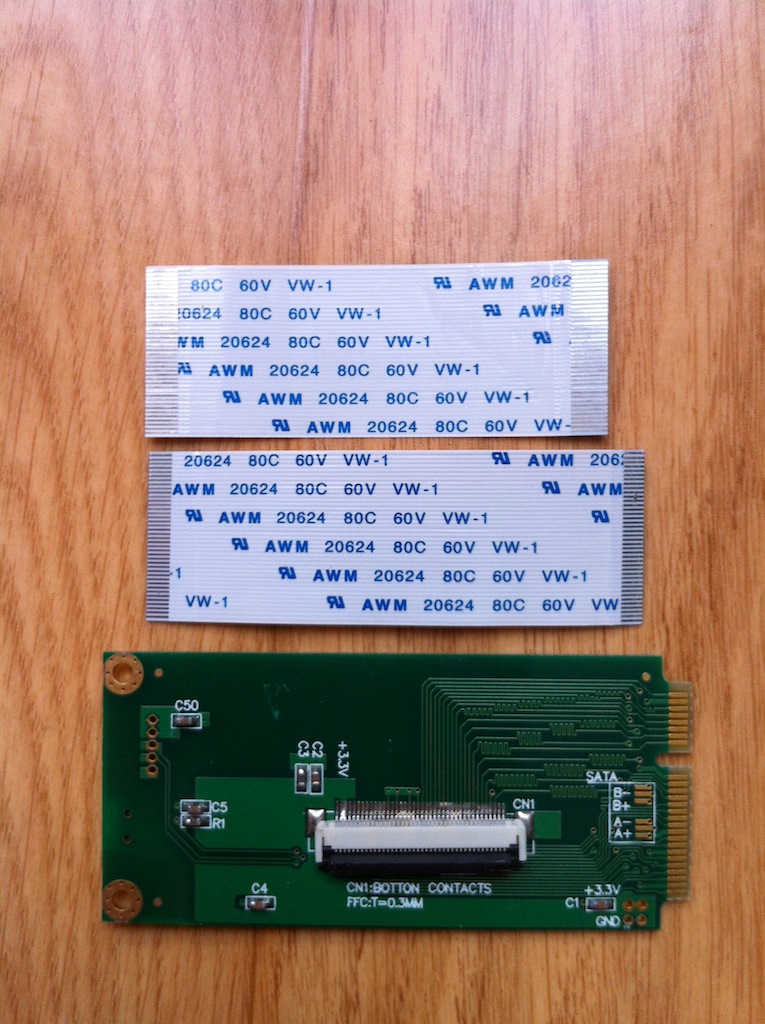
- The Mini PCI-e ZIF converter.
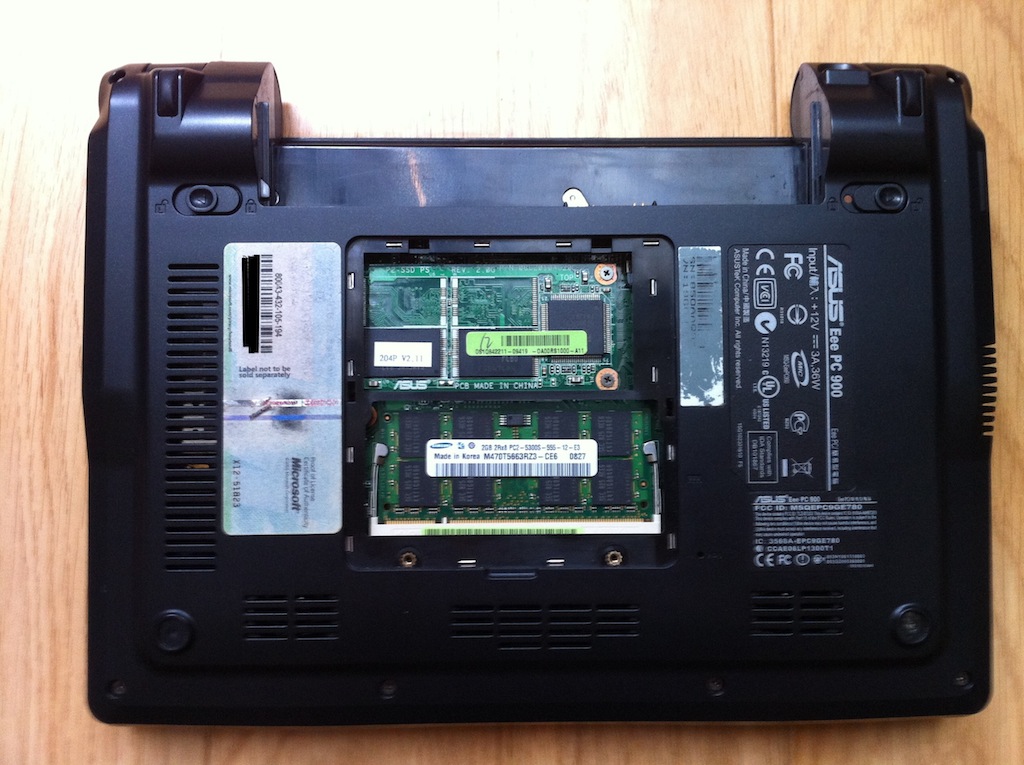
Plug and test
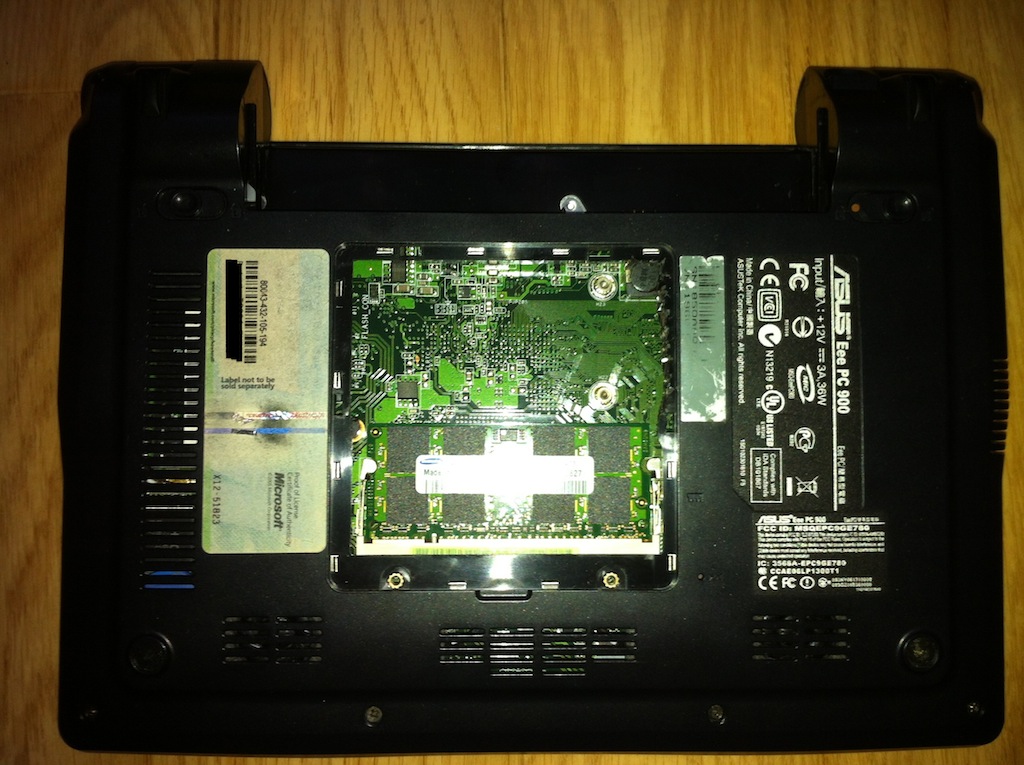
My first test was to replace the SSD Mini PCI-e card with the ZIF adapter, connecting the 1.8" SSD and booting with every hardware out. Just to be sure the BIOS would see the disk before I break the netbook case.
One thing that has to be done if to use the hardware switch on the ZIF adapter to set the 1.8" SSD as master. If you don’t do it, the SSD don’t show in the BIOS. I read that this does not happen on EeePC 901 ; but on my 900, it was required.
The cable to be used is the Blue&White one. The Blue&Blue didn’t fit in the 1.8" disk.
Take every power source off (cable and battery). Unscrew the PCI-e SSD to take it off. Plug the Blue part of the cable in the ZIF adapter and plug the adapter itself in the EeePC. Then plug the White part of the cable to the SSD. Once again, don’t forget to set the switch to “Master”. Put a power source back online and power on the EeePC. Use the “ESC” key to drop to BIOS and see the SSD disk appearing.

Make room for the disk
Actually, I made the room for the SSD according to the YouTube video instructions. I found the TW page below after I did it. If not, I would have tried not to break so much plastic ; none, as much as possible. Anyway, I used a cutting nipper to remove all the internal plastic bit and make as much room as possible. I also did put a large amount of tape on the SSD disk ; on the metal parts that might be in contact with the motherboard and/or the PCI-e cards.
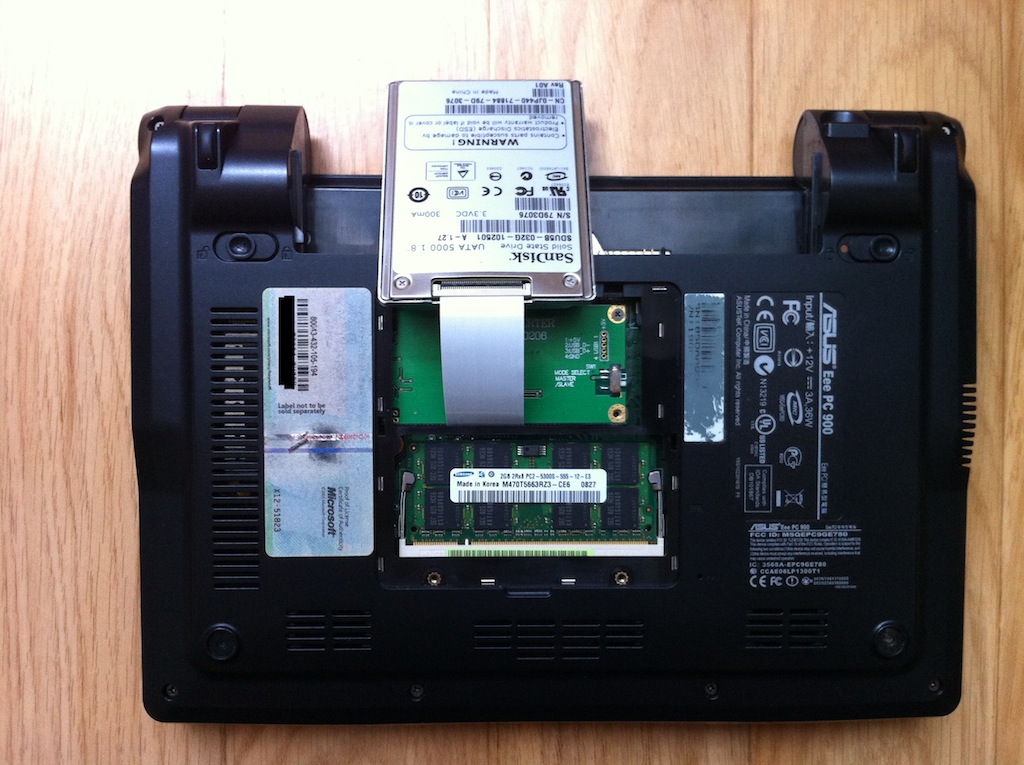
There are two ways to put the disk ; either portrait or landscape. The landscape needs more plastic removal and required twisting the cable. The portrait requires less plastic removal, if none at all, but requires the cable to be well fixed on the hard drive. In that configuration, the cable unplugged twice from the disk. I had to use an extra tape bit to help the cable to keep in its right position.
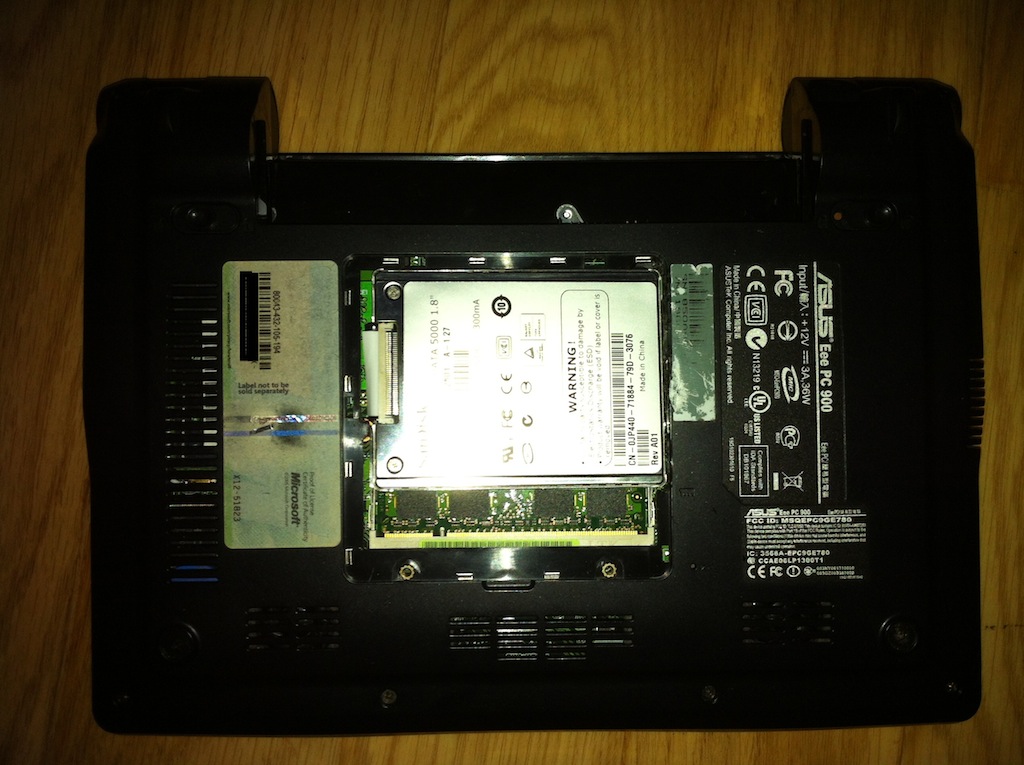
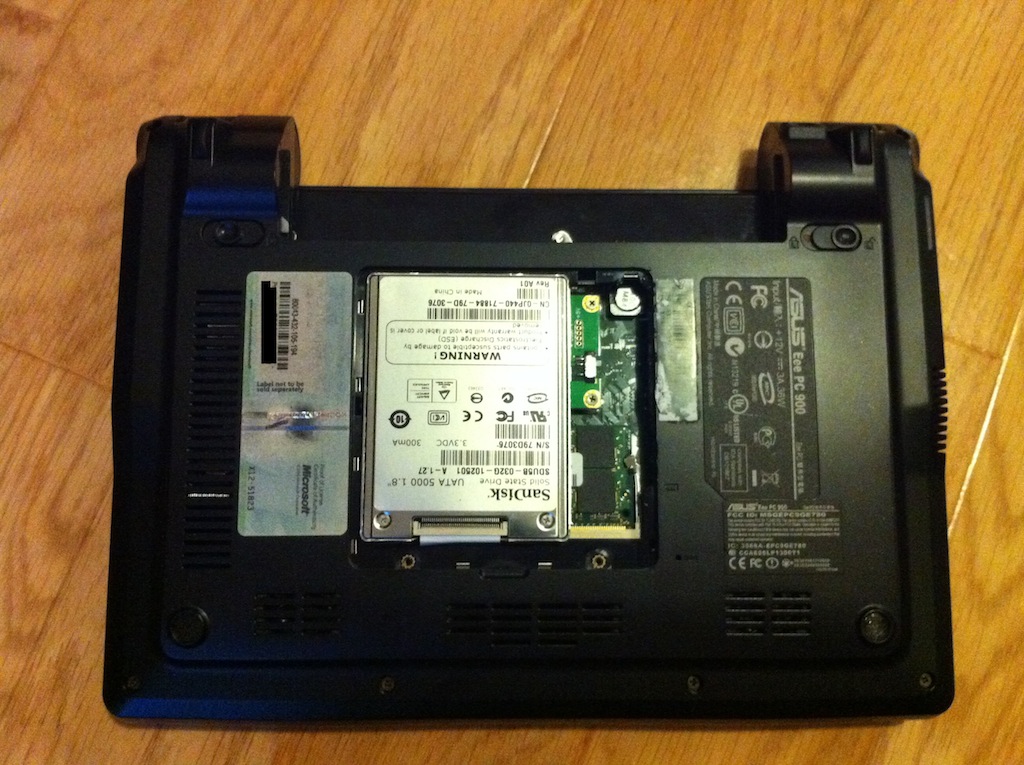
After both try, the portrait position seems to be the best to use.
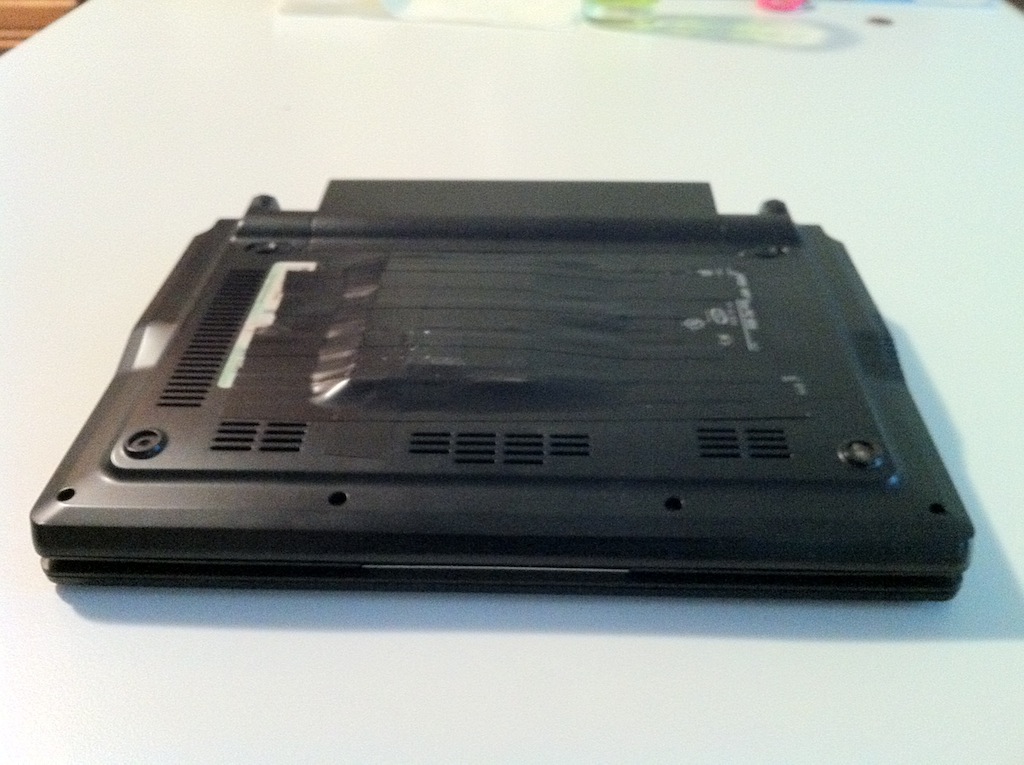
Closing the case
This is the most disappointing part of this hack. I didn’t read this would happen before actually doing it. So I will claim it loud here : THE COVER DOES NOT PLUG ANYMORE WHEN THE 1.8" DISK IS IN PLACE!
You can still use the hard cover then use tape to glue it to the back of the EeePC. In my opinion, this just sucks. It probably protects the SSD but totally kill the netbook appearance and make it unstable when lying on a table.
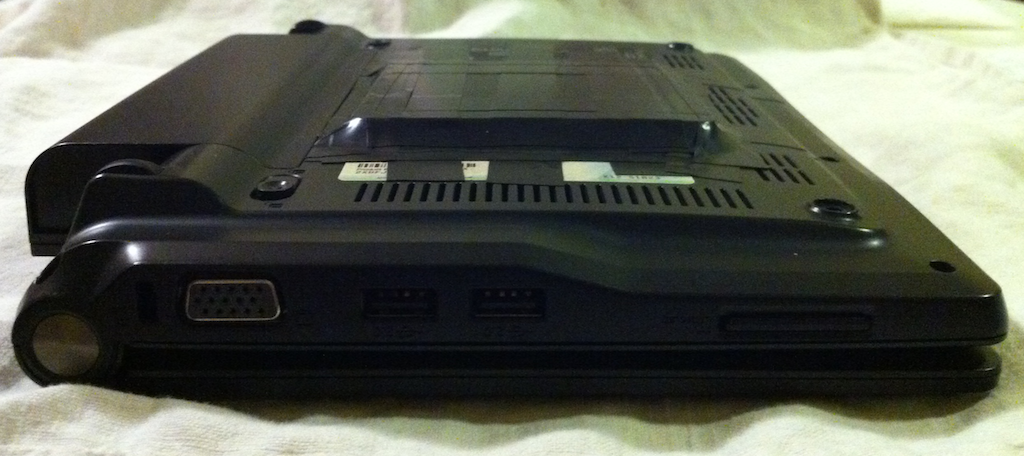
As the disk does not overstep that much from the case, I went for using only tape stripes. I used quite a bit actually ; to help the disk not move and cover any void to protect from dust. It makes the netbook looks better and allows it to stand normally. Just beware not to cover the air and microphone events…
About the OS
As the netbook is going to be used by my mother, I wanted it to be as easy to use as possible. Here’re which system I tried.
Microsoft Windows 7: seems to run well except there are no video and wireless drivers.
Ubuntu Linux 12.04: works not that bad. It’s quite long to boot and freezes quite often since you write data to the disk. BTW, I configured the 1.8" SSD with the system and the internal PCI-e SSD as the swap. Every hardware works, so this may be a good choice.
Android x86: I installed it using android-x86-4.0-RC1-eeepc.iso. The wireless
adapter went up at first start and I could fully use the netbook. It was
impressively fast ; actually, I found it faster than my Asus Transformer TF101.
The web browser takes too much screen space to my taste. All in all, you get
the Android experience ; which I don’t really like. There is no default file
manager and browsing the EeePC with Android is really “WTF” ; at least to much
so that I don’t want my mother to call every two hours…
Microsoft Windows XP: no big surprise, it runs very well. There are a few lags when the disk is accessed but this may be due to the SSD being qui old now. As far as I can compare, the lags are a bit less frequent than with Ubuntu. But the video rendering is really better performed ; in fact, Ubuntu video experience looks like Windows XP before installing the video drivers…
BTW, the BIOS was updated to 1006. No special requirements. It’s just because I didn’t set the PCI-e card to master, couldn’t see the disk and thought it might be BIOS related.
Sources
- PCI-E to ZIF adapter for Eee PCs
- 1.8 ZIF to mini PCI-e pcie Adapter for EEEPC 901/900A
- Installing a Toshiba ZIF Drive Into Our Older Model 1.8" Hard Drive Enclosure
- EEE PC 900 30G