Using a custom boot logo on Lenovo ThinkPad T460s
304 words, 2 minutes
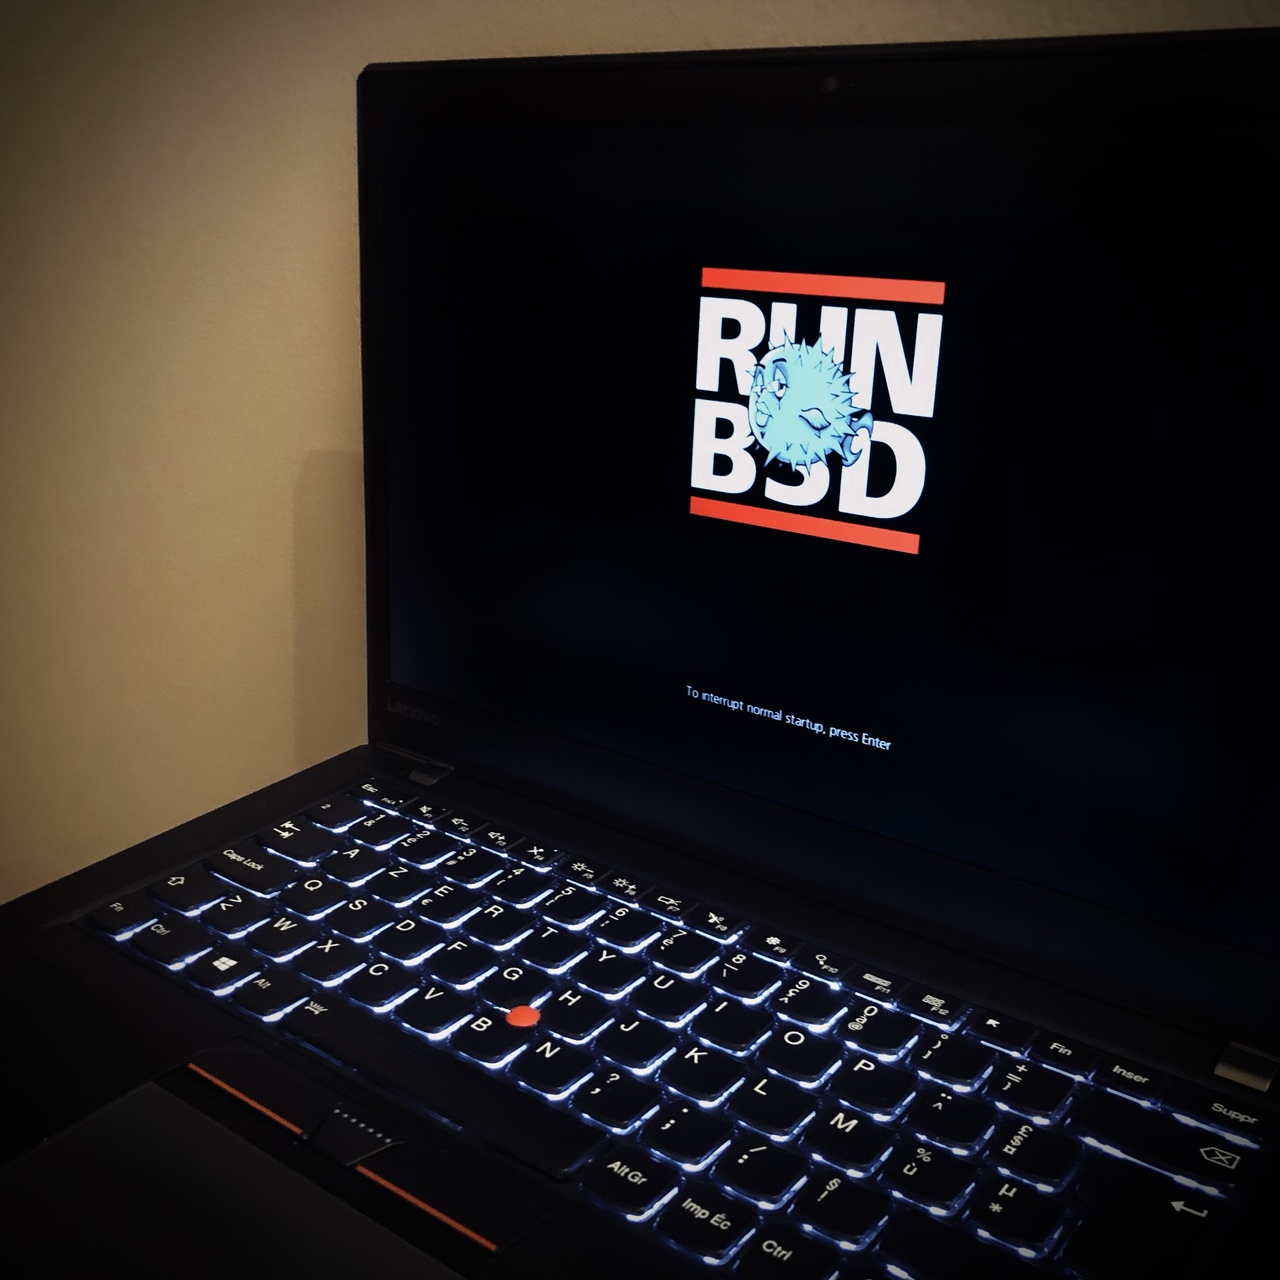
Lenovo makes it possible to change the boot logo of my refurbished ThinkPad T460s. So let’s turn the big red rectangle into something BSD.
First thing to do it to grab the BIOS Update (Bootable CD) image for this ThinkPad model . Then using the geteltorito utility, the ISO can be burned onto a USB thumb:
# pkg_add geteltorito
(...)
geteltorito-0.6: ok

# geteltorito -o n1cur37w.img n1cur37w.iso
Booting catalog starts at sector: 20
(...)
El Torito image starts at sector 27 and has 47104 sector(s) of 512 Bytes
Image has been written to file "n1cur37w.img".

# dd if=n1cur37w.img of=/dev/rsd2c bs=1m
23+0 records in
23+0 records out
24117248 bytes transferred in 0.325 secs (74120771 bytes/sec)

# mount -t msdos /dev/sd2i /mnt/msdos
In the /mnt/msdos/FLASH/README.TXT file, the directions explain what has to
be done. Well… not exactly as written.
Using xrandr -q, I could check that my screen uses the 1920x1080
resolution. Which means my logo image should not be bigger than 768px x 432px. Using The Gimp, I assembled my logo and exported it as a JPEG image.
Compression has to be achieved to keep the file size under 60KB. The image
would be named LOGO.JPG and saved next to the README.TXT file.
That done, it is time to reboot. Ensure that the BIOS option “Security / UEFI BIOS Update Option / Secure RollBack Prevention” is set to “Disabled”. This allows applying the same version of the BIOS (in case you want to replace the image even if no new BIOS version is available). Boot on the USB key. Select option #2 “Update system program”. You’ll be notified that “A custom start up image file was found on the CD”. Simply press “Y” to apply the custom image. Follow the instructions until the update is done.
The Lenovo now boots with a BSD look <3